How to Set Up Your Mac Development Environment
Published:
I recently got a new MacBook Air M2, which means another chance to start fresh and set up my dev environment in an optimal way for productivity, function and of course, it’s gotta look good too.
Setting up a development environment on a Mac, especially for modern programming languages and cloud services, involves several key steps. Here’s a comprehensive guide to get you started.
Basic Setup
1. Update macOS
Ensure your macOS is updated to the latest version.
- Go to Apple menu > System Preferences > Software Update.
Custom Terminal Setup with iTerm2
2. Install iTerm2
iTerm2 is a replacement for the default macOS terminal with more features. It is honestly much nicer than the default terminal, and I would highly recommend you to get this setup as your default terminal.
- Download and install it from iTerm2’s website.
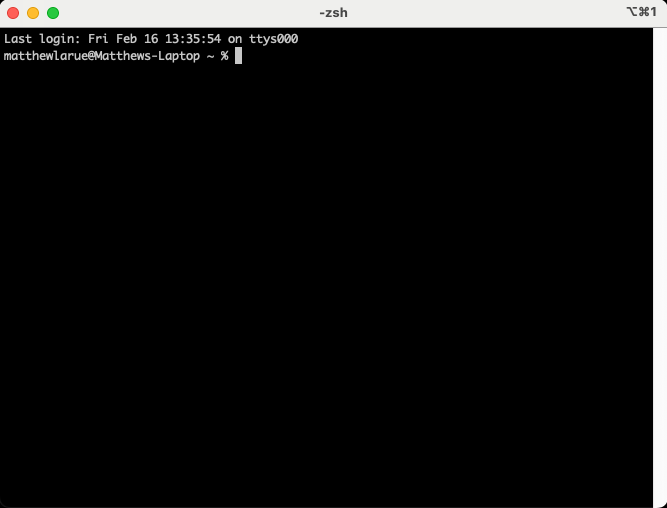
This is what the terminal looks like after installation (we are going to make it look much nicer soon):

3. Install Homebrew
Homebrew is a package manager for macOS, useful for installing other tools and languages. This will also install Xcode command line tools.
/bin/bash -c "$(curl -fsSL https://raw.githubusercontent.com/Homebrew/install/HEAD/install.sh)"
Make sure you add homebrew to your path after installation.

4. Customize Terminal
Install oh-my-zsh
oh-my-zsh is a super useful tool for customizing your terminal. Keep in mind, you are now using a zsh terminal as opposed to a bash terminal.
Run: sh -c "$(curl -fsSL https://raw.githubusercontent.com/robbyrussell/oh-my-zsh/master/tools/install.sh)"
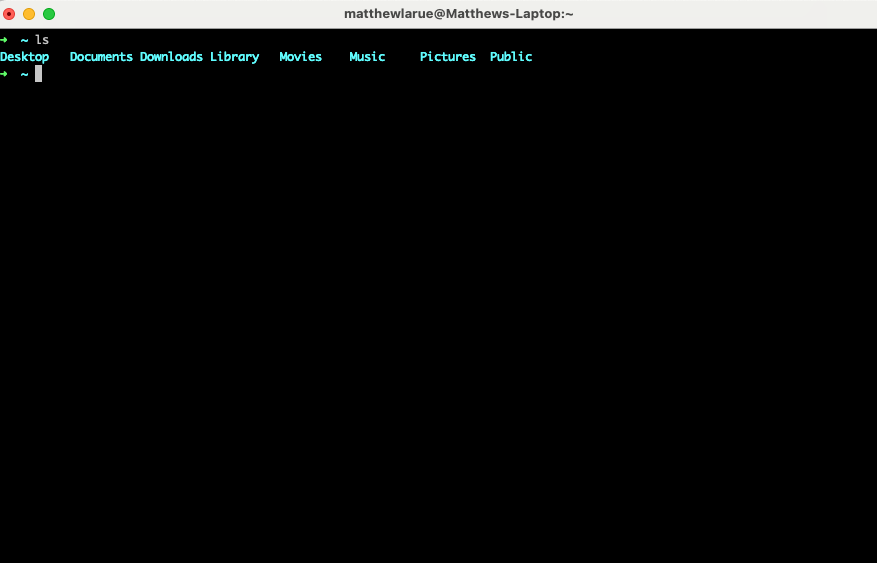
Now your terminal should look something like this:

Python Setup
5. Install Python
Install a separate version of Python for development purposes.
Use Homebrew:
brew install python
IDE and Code Editors
6. Install an IDE
Visual Studio Code (VSCode) is a popular choice and supports a variety of languages well, especially Python and JavaScript.
Install via Homebrew:
brew install --cask visual-studio-code
7. Integrate VSCode with Terminal
To open VSCode from the terminal using a command like .code, follow these steps:
- Open VSCode.
- Press Cmd+Shift+P to open the Command Palette.
- Type
Shell Command: Install 'code' command in PATH. - After this, you can open a folder in VSCode by typing
code .in your terminal.
8. Recommended VSCode Extensions
Here are some useful extensions for development:
- Python: For Python development, offers IntelliSense, linting, debugging, etc.
- ESLint: Integrates ESLint JavaScript into VSCode.
- Prettier - Code formatter: An opinionated code formatter.
- GitLens: Supercharges the built-in Git capabilities.
- Docker: Makes it easy to build, manage, and deploy containerized applications.
- Live Share: Enables real-time collaborative development.
- Bracket Pair Colorizer: Allows matching brackets to be identified with colors.
- Material Icon Theme: Enhances the visual appeal of the file explorer.
- Visual Studio IntelliCode: Provides AI-assisted development features.
This is not the end all be all dev setup, but should be useful to get your started coding. Hope it helps!
